


Cleaning the fridge isn’t just a spring cleaning task—it’s your most powerful routine to prevent foodborne illness, eliminate stubborn odors, and keep your family healthy. If you cook often and store lots of food, ignoring deep cleaning puts your food and well-being at risk.
Key Takeaways
- Improper refrigerator cleaning leads to about 28% of home food-borne outbreaks—gasket, drip pan, and drain neglect are major causes. [Source]
- Adapt cleaning schedules to your actual fridge use—heavy meal-prep households need deep-cleaning much more often than occasional users.
- Evidence-based sanitizing and careful hardware cleaning (not just shelf wiping) are the keys to real fridge odor removal and safe food storage.
- Why deep-cleaning the fridge matters (safety + odor)
- Step-by-step refrigerator deep cleaning (time-boxed)
- Advanced Analysis & Common Pitfalls
- Conclusion
- Short FAQ
Why deep-cleaning the fridge matters (safety + odor)
Think your usual quick wipe-down keeps your fridge safe? Not quite. The inside of your refrigerator is a hidden hub for contamination. Studies reveal that improper refrigerator cleaning and maintenance plays a critical role in roughly 28% of domestic food-borne outbreaks—while overall home foodborne illness explains about 12% of reported cases. [Research] Mold, forgotten spills, and food debris multiply bacteria, which can spread to fresh groceries—especially if seals, drip pans, or drains are ignored. Persistent fridge odor isn’t just unpleasant; it signals that harmful germs are thriving where you store your meals.
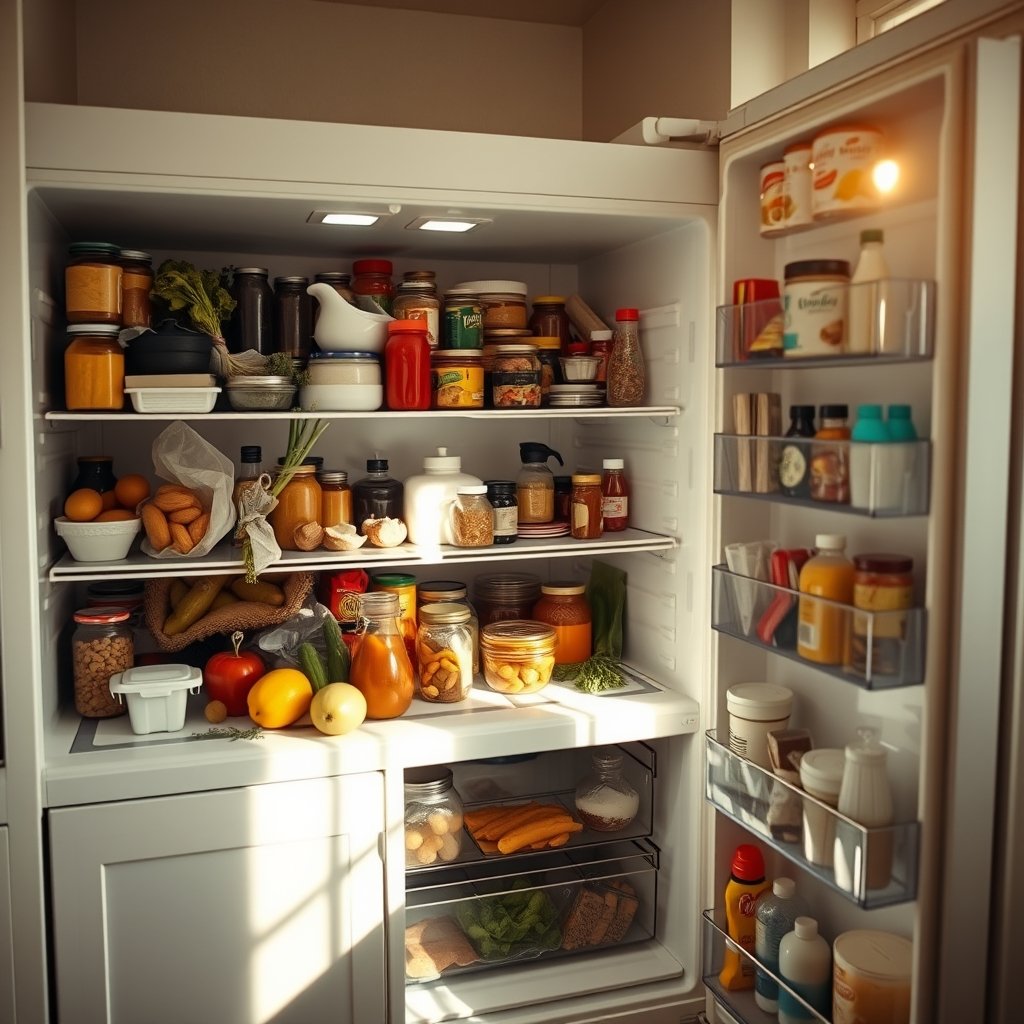
If you’re after a truly clean, safe refrigerator, you need to go beyond shelf wipes—and this guide shows you precisely where and how to target the most neglected danger spots.
Step-by-step refrigerator deep cleaning (time-boxed)
If you want a refrigerator that’s actually healthy and odor-free, you need more than surface wiping. Here’s your fast, evidence-driven, safety-first deep clean—including crucial hardware and the right sanitizing techniques.
What you’ll need
- Dishwashing gloves
- Mild unscented dish soap
- food-safe sanitizer (see below for a safe bleach solution)
- Microfiber cloths and non-abrasive sponges
- Clean towels or paper towels
- Old toothbrush or small brush
- Optional: steam cleaner, soft plastic scraper
1. Empty and sort
- Remove all food. Place perishable items in a cooler with ice packs.
- Sort and discard food that is expired, moldy, or questionable. Discard any recalled foods and wipe down items with sticky spills.
2. Remove shelves, drawers, and bins
- Take out all removable shelves and bins. If they’re stuck, warm the area with a hairdryer on low, or check if a locking tab needs to be pressed.
- Let glass shelves come to room temperature before rinsing to avoid cracks.
3. Soak and scrub removable parts
- Soak shelves, bins, and trays in sink with hot water and mild dish soap for at least 10 minutes.
- Scrub sticky residue gently. For tough spots, use a soft plastic scraper.
4. Wipe and clean the interior
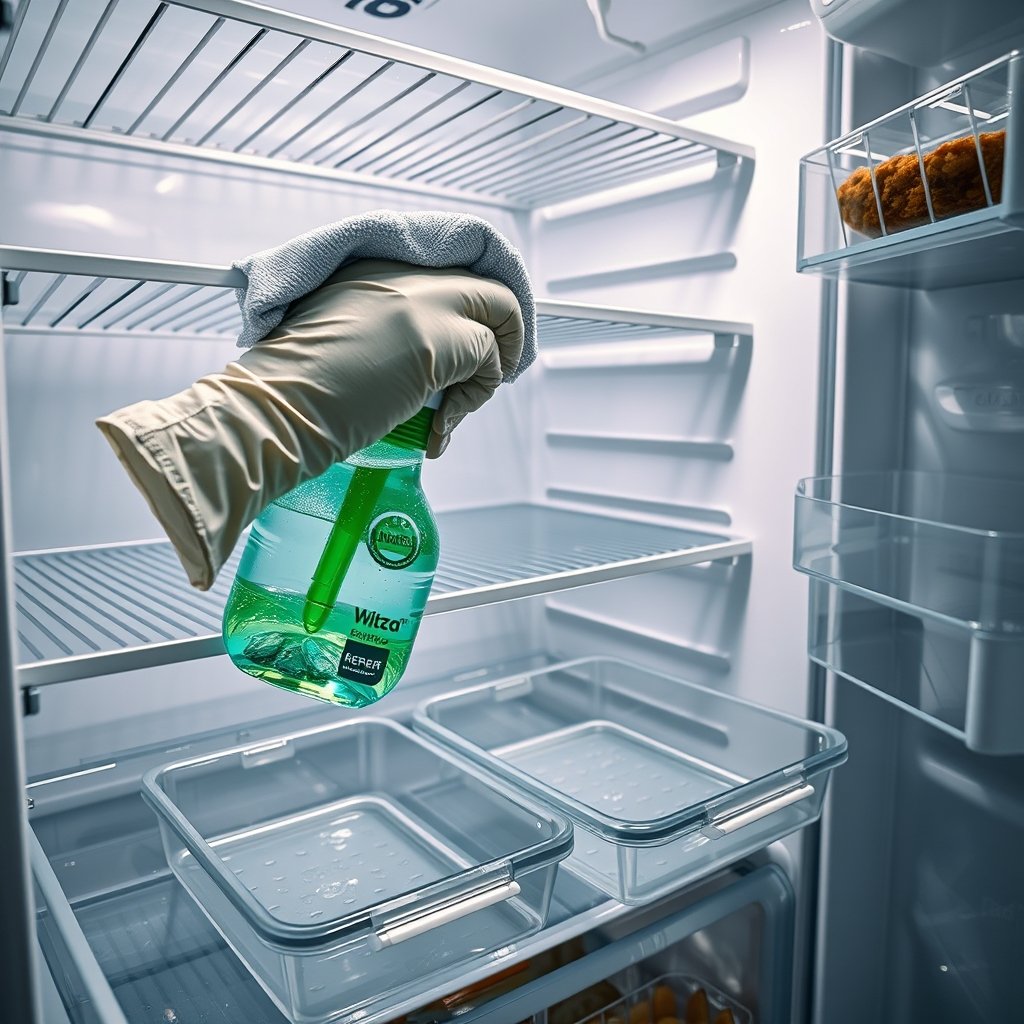
- Wipe the interior walls, shelf supports, and fixed hardware with hot soapy water, rinsing your cloth frequently.
- Don’t forget to clean under fixed shelves, around fan housings, and in back corners.
5. Target the hidden hotspots
- Carefully clean door seals/gaskets using a soft brush and a baking soda solution (1 tbsp per quart of warm water). Dry thoroughly to prevent mold.
- Remove and clean drip pan if accessible (see your manual). Wipe thaw/drain holes gently with a pipe cleaner or flexible brush.
6. Sanitize all surfaces
- After cleaning, apply a food-safe sanitizer. The CDC recommends 1 tablespoon unscented liquid bleach per gallon of water (source).
- Wipe shelves, drawers, and interior surfaces. Let air dry before replacing.
7. Dry thoroughly
- Wipe everything dry with clean towels. Moisture invites mold.
8. Replace shelves and food carefully
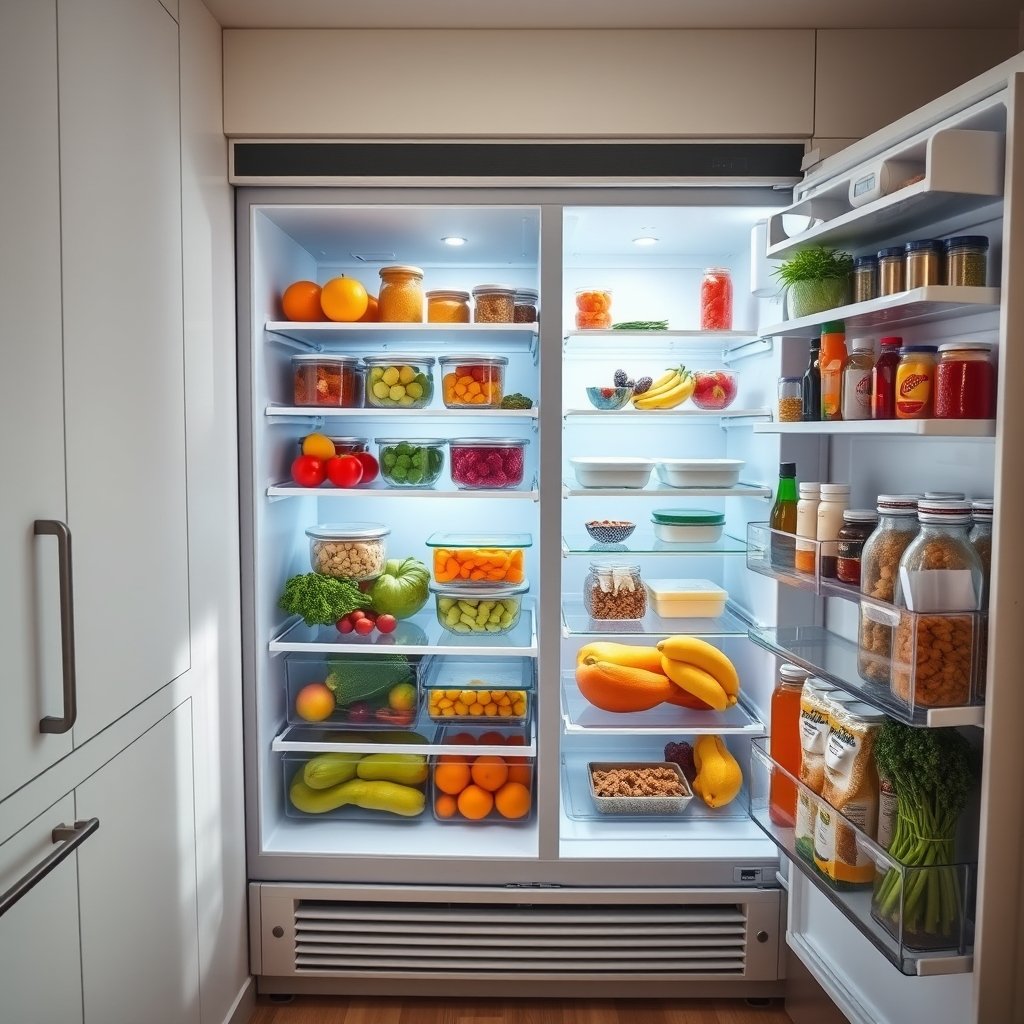
- Reassemble shelves and bins. Use airtight containers for leftovers and raw meats to prevent leaks.
- Store raw meats on the lowest shelf to avoid drips onto produce. Label leftovers with dates.
Time estimates for realistic cleaning
- Quick refresh (wiping, spot-deodorize): 15-20 minutes
- Standard deep clean (disassemble, soak, sanitize): 60 – 90 minutes
- Full disassembly, defrost, and hardware check: Up to 3 hours
For a printable checklist and detailed time plan, see our Conclusion.
Related: Ultimate Kitchen Deep Clean Checklist
Advanced Analysis & Common Pitfalls
Even the most diligent home cooks encounter challenges when cleaning the fridge. Knowing what can go wrong—and how to fix it—saves time, money, and frustration.
Common Pitfalls
| Problem | Cause | What Actually Works |
|---|---|---|
| Persistent fridge odor | Bacteria or mold in gaskets, drip pan, or drain—not just due to old food | Deep clean these hotspots and use activated charcoal or a commercial odor absorber (not just baking soda) |
| Sticky, hard-to-remove shelves and drawers | Trapped food residue; poor disassembly access | Soak in hot soapy water; use a plastic scraper; check manual for unlocking tabs |
| Unsafe sanitizing (chemical residue) | Using bleach at wrong strength or unapproved sprays | Follow CDC bleach guidelines and rinse with clean water |
| Mold on door seals | Poor drying or missed cleaning in gasket crevices | Baking soda + water scrub, then dry thoroughly; check for gasket damage |
| Bacterial growth after cleaning | Moisture left behind or food replaced before dry | Wipe thoroughly, air dry, and avoid food contact before dry |
Many popular guides oversimplify fridge cleaning and skip the most likely sources of recurring problems. For example, repeatedly cleaning just the shelves doesn’t solve mystery odors if the drip pan or gasket is dirty. Removing Odors from Refrigerators—USDA
Fridge Deep Clean: Essential DOs and DON’Ts
- DO always wear gloves and unplug the fridge before cleaning electrical parts or light housings.
- DO NOT use strong chemical cleaners, ammonia, or anything with added fragrance—these can leave behind unsafe residues.
- DO replace any badly cracked or mold-infested door seals.
- DO NOT overload shelves after cleaning; allow proper airflow and ensure items aren’t blocking vents.
For more time-saving maintenance tricks, see our Ultimate Laundry Basket Checklist and Spring Cleaning Tips.
Conclusion
Safe cleaning the fridge isn’t just a checklist—it’s an investment in your family’s health and peace of mind. Tackle the hidden hotspots, sanitize properly, and adapt your routine to how you actually use your fridge for the biggest payoff. Ready to protect your meals, save time, and truly banish odors? Start with the printable plan below and keep it handy for your next deep clean. Prefer a one-page checklist for your whole kitchen? Download our Kitchen Deep Clean Guide now!
Printable Fridge Cleaning Time Plans
- 15 Minutes: Rapid wipe-down, spot deodorize, remove old food. Result: Freshened-up fridge and immediate safety improvement.
- 60 Minutes: Full shelf/bin removal, soak and scrub, sanitize, gasket cleaning, food sorting. Result: Deep clean and odor elimination for a busy household.
- 180 Minutes: Full hardware disassembly, drip pan and drain, deep soak all bins, full defrost if needed. Result: Like-new fridge, ready for the next season.
Short FAQ
How often should I deep-clean my fridge?
It depends on your household’s usage. Heavy meal-prep families should deep-clean every 4-6 weeks. Moderate users: every 2-3 months. Occasional users can clean quarterly. However, always do an immediate deep clean after spills, mold, or storing recalled food. [Source]
Is bleach safe for cleaning refrigerator shelves?
Yes, if used at a safe dilution. Mix 1 tablespoon of unscented liquid bleach per gallon of water. After sanitizing, wipe with clean water and let surfaces air dry before putting food back. Never use undiluted bleach or scented cleaners.
How do I remove mold from the door gasket?
Mix baking soda and warm water (1 tbsp per quart). Scrub the gasket using a soft brush or toothbrush, then dry thoroughly. Persistent mold may mean time to replace the gasket.
Will baking soda really remove strong fridge odors?
Baking soda helps, but it works slowly and doesn’t address odors from hidden mold or bacteria. Clean the drip pan, gaskets, and drain; use activated charcoal or a commercial fridge-safe odor absorber for faster, longer-lasting results.
What if my shelves or crisper drawers won’t budge?
Let the fridge warm briefly, check for locking tabs, and use a plastic tool for gentle leverage. If they’re truly stuck, consult your appliance manual. Never force glass parts cold—they can crack.